A well-applied vinyl decal can look like paint. A rushed one wrinkles, bubbles, lifts at the edges and sits crooked forever. The difference is almost entirely preparation and technique, not expensive tools. This guide walks through the process for cars, vans, boats, windows and smooth walls, with both dry and wet methods, so you can get a clean result the first time.
Clean
Most important step
Grease and dust stop adhesion
Hinge
Positioning method
Tape first, then apply
Mild
Best conditions
Not hot sun, not cold
What you need
- the decal, with its backing paper and application (transfer) tape;
- a plastic squeegee, ideally with a felt edge to avoid scratching;
- masking tape;
- a tape measure and, for long pieces, a spirit level;
- isopropyl alcohol and lint-free cloths for cleaning;
- for wet application, a spray bottle of water with a drop of mild detergent, or a purpose-made application fluid;
- a fine pin for trapped bubbles;
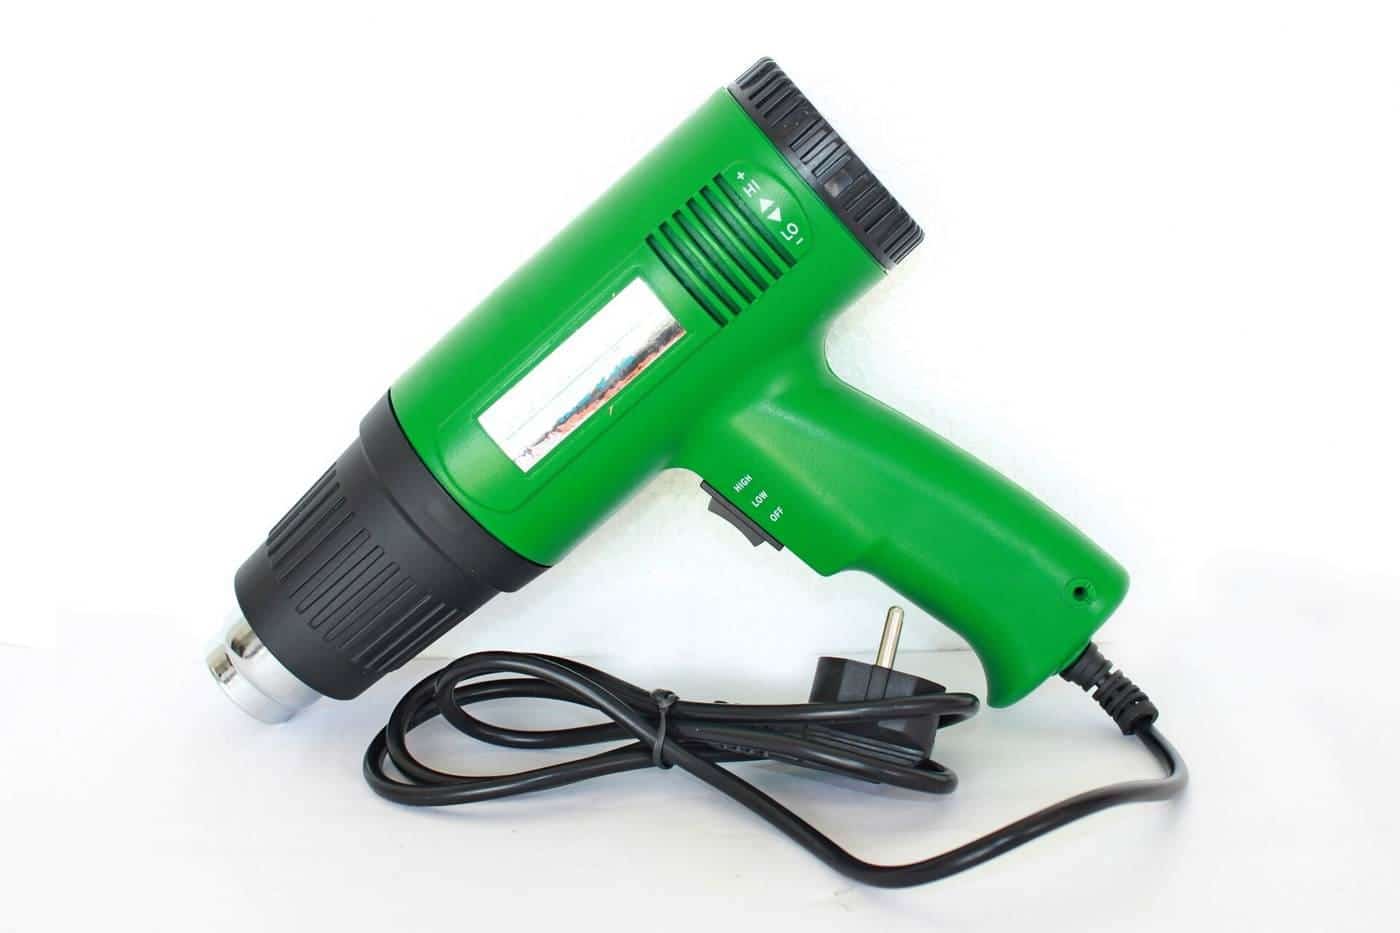
- a hair dryer or heat gun on a low setting for curves (optional).
Understanding your decal
Most cut-vinyl decals come in three layers. At the back is the waxy backing paper (release liner). In the middle is the vinyl, with adhesive on its back. On top is application tape, a clear or paper tape that holds separate letters and shapes in position while you apply them. Printed decals and stickers may have no application tape, because they're one solid piece.
Vinyl also comes in different grades. Cheaper calendered vinyls suit flat surfaces and shorter-term use. Cast vinyls are thinner and more conformable, and suit curves, rivets and long-term outdoor use. Some films have air-release channels in the adhesive that let air escape, which makes bubble-free dry application much easier. Ask your supplier what you've got, and look up the maker's data sheet for recommended application temperatures and methods.
Step 1: choose the right conditions
Vinyl adhesive behaves differently with temperature. In hot sun or on a hot panel, the adhesive grabs instantly and the vinyl stretches, which makes repositioning hard. On a cold surface, the adhesive doesn't flow into the surface and the bond is weak. Work in the shade, in a garage or on a mild day, and check the panel feels neither hot nor cold to the touch. Avoid windy days outdoors, as dust and gusts make large decals hard to handle.
Step 2: clean the surface thoroughly
This is the step people skip and regret. Any wax, polish, silicone, road film, fingerprints or dust will stop the adhesive bonding.
- Wash the area with soapy water and rinse.
- Dry completely.
- Wipe with isopropyl alcohol on a lint-free cloth, then let it flash off.
- Don't touch the area again with bare fingers.
If the car has recently been waxed or ceramic-coated, ask your supplier whether the decal will bond to it; some coatings are designed to repel adhesives. Read the safety data sheet and label for any cleaning chemical before use. Safe Work Australia explains that safety data sheets describe a chemical's hazards and how to use it safely.
Step 3: plan the position
Measure twice. Use masking tape to mark guide lines on the panel. On vehicles, line decals up with body lines, window edges or door handles rather than relying on a level, because cars are rarely perfectly level on a driveway. On walls and windows, a spirit level or laser line helps.
Hold the decal in place, still with its backing on, and step back to check it looks right from a distance. On a vehicle, check it from both sides and from the angle people will normally see it.
Step 4: the hinge method (dry application)
The hinge method is the most reliable way to get a straight decal.
- With the decal positioned and the backing still on, run a strip of masking tape vertically down the middle (for wide decals) or along the top edge (for narrow ones), half on the decal and half on the surface. This is your hinge.
- Lift one half of the decal back over the hinge.
- Peel the backing paper away from that half, back to the hinge, and cut it off with scissors.
- Holding the vinyl slightly away from the surface, lower it while squeegeeing from the hinge outwards in overlapping strokes, firm and even.
- Remove the hinge tape, lift the other half, remove the rest of the backing and squeegee from the centre outwards.
Working from the centre outwards pushes air towards the edges rather than trapping it.
Step 5: remove the application tape
Once everything is squeegeed down firmly, peel the application tape back slowly at a sharp angle, close to the surface, rather than pulling it straight up. If a letter starts to lift with the tape, lay the tape back down, squeegee that spot again and try more slowly. In cold conditions, letting the decal sit for a few minutes before removing the tape helps.
Finally, squeegee gently over the bare vinyl through a piece of the backing paper (shiny side down) to make sure every edge is down.
Wet application
Wet application lets you float the decal into position and slide it around before it bonds, which is useful for large decals, long stripes and window graphics. It's a good choice for beginners, but:
- check your vinyl maker permits wet application; some air-release films are dry-only;
- the bond takes longer to develop, so the decal is more vulnerable for the first day or so;
- cut-letter decals with fine detail can be harder to manage wet.
How to do it:
- Clean the surface as above.
- Lightly mist the surface and the adhesive side of the vinyl with your soapy water or application fluid.
- Position the decal and slide it into place.
- Squeegee firmly from the centre outwards to push out the water.
- Wait before removing the application tape, longer in cool or humid conditions, until the vinyl stays put.
- Re-squeegee edges after removing the tape.
Dealing with curves and recesses
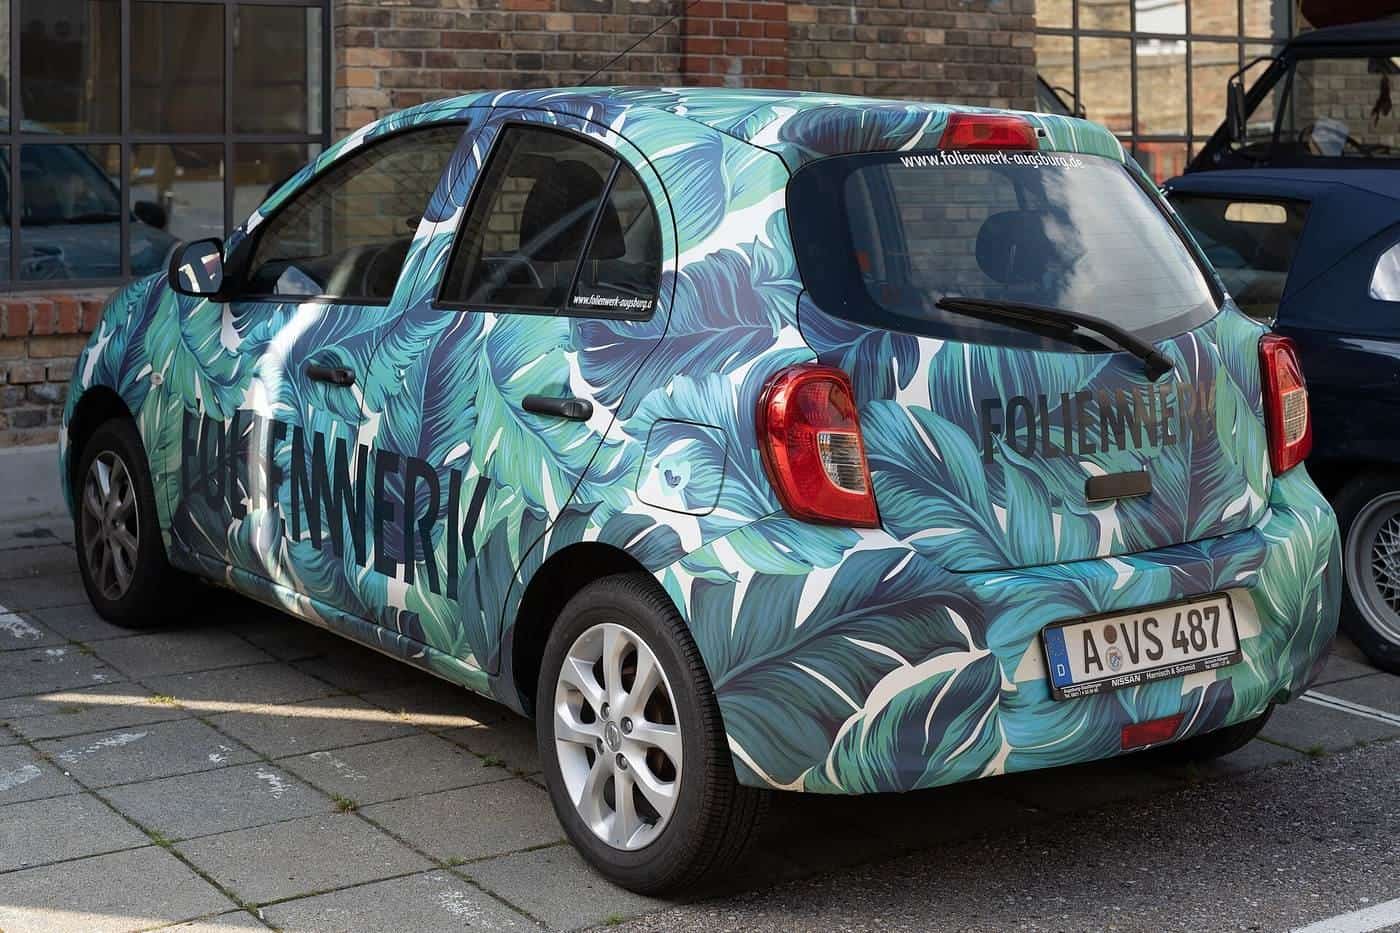
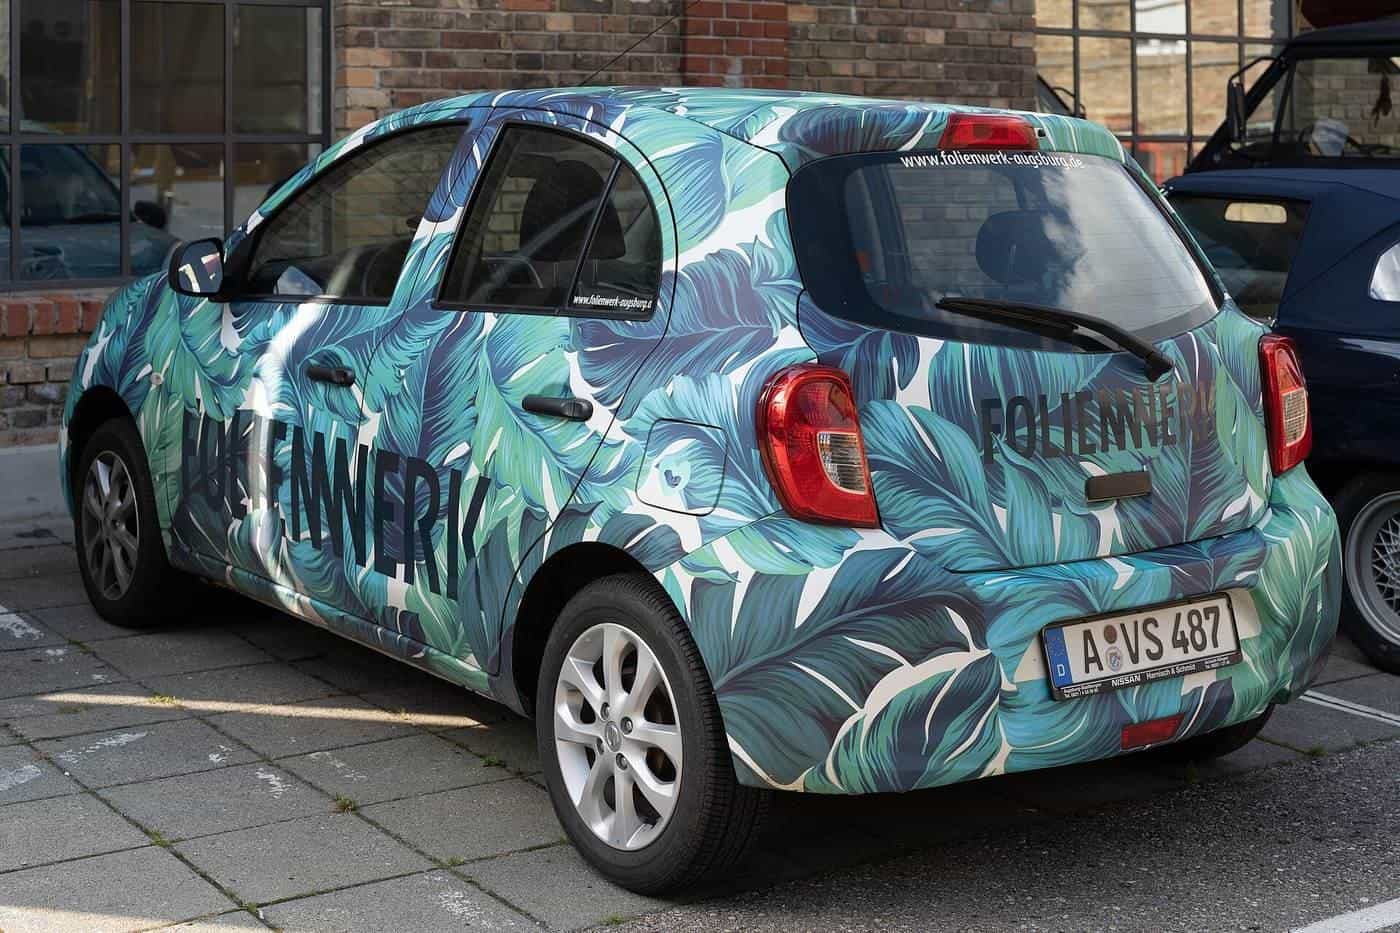
On gentle curves, vinyl will usually conform if you work slowly. On compound curves, recesses and around rivets, gentle warmth from a hair dryer or heat gun on a low setting softens the vinyl so it can stretch slightly. Don't overheat or overstretch: vinyl that's stretched too far can shrink back later and lift. For full wraps and complex shapes, professional installers use cast films and specific post-heating techniques.
Fixing bubbles and wrinkles
- Small bubbles: push them towards the nearest edge with the squeegee.
- Trapped air: prick the bubble at its edge with a fine pin, not in the middle, then press the air out through the hole.
- Wrinkles while applying: stop, gently lift the vinyl back to before the wrinkle, then re-lay it with even tension.
- Wet-applied haze or tiny bubbles: many disappear over a few days as moisture escapes.
Aftercare
Give the adhesive time to reach full strength before washing or exposing the decal to harsh conditions. Follow the decal's instructions, and when you do wash, avoid aiming high-pressure jets at the edges. Australia has high UV levels, as ARPANSA notes, so outdoor decals fade and age faster in strong sun. Choosing UV-resistant vinyl and laminate for printed decals helps them last.
Legal note for vehicles
Before you put a decal on a car window, check it won't block your view. Under the Australian Road Rules, as adopted in each state (in NSW, rule 297 of the Road Rules 2014), a driver must have a clear view of the road and traffic ahead, behind and to each side. See car window stickers and the law.
Key points
- Clean thoroughly with isopropyl alcohol and avoid touching the surface.
- Work in mild conditions, out of hot sun and wind.
- Use the hinge method for straight placement and squeegee from the centre out.
- Use wet application for large decals only if the vinyl allows it.
- Let the adhesive cure before washing, and keep windows clear for visibility.
Frequently asked questions
Should I apply a decal wet or dry?
Dry application gives the strongest initial bond and suits small decals and experienced hands. Wet application lets you slide the decal into position and suits larger pieces and beginners, but check the vinyl maker allows it, as some air-release films are designed for dry use only.
What temperature is best for applying vinyl?
Mild conditions are best. Avoid applying in direct hot sun or on a cold surface, because heat makes the adhesive grab too fast and cold stops it bonding well. Check the vinyl's data sheet for its recommended application temperature range.
How do I get rid of bubbles?
Push small bubbles towards the nearest edge with a squeegee. For a trapped bubble, prick it with a fine pin at one edge and press the air out. Many small bubbles in wet-applied vinyl disappear as the water evaporates.
When can I wash the car after applying a decal?
Give the adhesive time to bond before washing. Many vinyl makers suggest waiting a few days and avoiding high-pressure jets close to the edges. Follow the instructions supplied with the decal.
Can I apply a decal over a scratch or rust?
It's best not to. Vinyl shows every imperfection underneath and won't stop rust spreading. Repair the surface first.
Sources and further reading
Facts on this page were checked against these primary and official sources. Conditions change — confirm before you travel or buy.
- Road Rules 2014 (NSW), rule 297 — NSW Legislation
- The sun and UV — ARPANSA
- Safety data sheets — Safe Work Australia